
Relying on a “low-VOC” label is not enough to guarantee a fume-free nursery; true safety lies in understanding how paints cure and choosing materials that are inherently non-toxic.
- Even “zero-VOC” acrylic paints can release harmful chemicals for weeks as they cure, not just dry.
- Natural paints like clay offer superior air quality but require specific surface preparation to avoid catastrophic peeling and adhesion failure.
Recommendation: Prioritize truly natural, mineral-based paints and master the surface testing and priming techniques to ensure both a healthy and a long-lasting finish.
The moment you decide to paint the nursery is filled with excitement and creativity. You envision a serene, beautiful space for your new baby. But this creative joy is quickly met with a wave of anxiety: are these paint fumes safe? The conventional advice is to simply pick a can labeled “low-VOC” or “zero-VOC.” This seems like a straightforward solution, but it’s a dangerous oversimplification. The truth is, the world of paint is far more complex, and these labels can provide a false sense of security.
The problem isn’t just the solvents that evaporate as paint dries. It’s the complex chemical reactions that continue for days, or even weeks, afterward. This process, known as curing, can release a cocktail of compounds into the very air your newborn will breathe. While conventional paints have focused on reducing Volatile Organic Compounds (VOCs), they often overlook other semi-volatile compounds and the nature of their acrylic or vinyl binders. This guide moves beyond the marketing claims on a paint can. We will delve into the science behind off-gassing, the material properties of truly natural alternatives like clay and chalk paints, and the critical application techniques that professionals use to ensure a finish is not only beautiful but fundamentally healthy and durable.
This article will equip you with the knowledge to navigate these choices with confidence. We’ll explore why even “safe” paints can be a problem, how to test and choose the right natural materials, and how to apply them correctly to avoid common and costly mistakes. Finally, we’ll broaden our scope to see how principles of biophilic design can work alongside non-toxic materials to create a nursery that actively promotes well-being and lowers stress for both you and your baby.
Summary: A Healthy Nursery Beyond ‘Low-VOC’ Paint
- Why “Low VOC” Paint Can Still Off-Gas for Weeks After Drying?
- How to Test if Natural Clay Paint Will Fade in Direct Sunlight?
- Clay or Chalk: Which Breathable Paint Is Best for Bedroom Walls?
- The Adhesion Mistake That Causes Eco-Paint to Peel Off in Sheets
- Priming for Clay: How to Avoid Using 4 Coats of Expensive Paint?
- Hempcrete or Mineral Wool: Which Offers Better Thermal Regulation?
- How to Choose Plants That Actually Clean the Air in Low-Light Rooms?
- How to Lower Cortisol Levels at Home Using Biophilic Design Principles?
Why “Low VOC” Paint Can Still Off-Gas for Weeks After Drying?
The term “zero-VOC” is one of the most misleading in the paint industry. It typically only refers to the volatile organic compounds in the base paint, not the colorants added at the store, which can reintroduce VOCs. More importantly, it ignores the fundamental difference between drying and curing. Drying is the evaporation of water or solvents, making the paint feel dry to the touch within hours. Curing, however, is the chemical process where the paint’s polymer chains cross-link to form a hard, durable film. This process can take 30 days or more.
During the curing phase, even low and zero-VOC acrylic paints can release a range of chemicals, including aldehydes, glycols, and other semi-volatile organic compounds that are not regulated as VOCs but can still impact indoor air quality. This is why a room can smell like “new paint” long after it’s dry. Research consistently shows that indoor air is significantly more polluted than outdoor air, and recent decorating is a major contributor. According to EPA research, VOC levels are typically 2 to 5 times higher indoors than outdoors. This prolonged off-gassing is precisely what you want to avoid in a room designed for a developing infant.
In contrast, truly natural mineral paints, like those made from clay or silicate, don’t rely on chemical curing. They harden through a simple process of water evaporation. This means their off-gassing period is virtually zero once dry, making them a fundamentally safer choice for a nursery. For sensitive individuals, it’s recommended to wait at least seven days before occupying a room painted with conventional low-VOC paint, while a room with mineral paint can often be used the same day.
How to Test if Natural Clay Paint Will Fade in Direct Sunlight?
One of the beautiful qualities of natural clay and mineral paints is their rich, earthy color, derived from natural pigments. However, unlike the synthetic pigments in conventional paints, some natural colorants can be susceptible to fading from prolonged exposure to ultraviolet (UV) light. This property is known as lightfastness. Before committing to a color for a sun-drenched nursery, performing a simple lightfastness test can save you from disappointment down the road.
Professionals use standardized protocols like ASTM D4303 to test the lightfastness of artists’ materials, which involves accelerated exposure to simulated daylight. While you don’t need a lab, you can replicate the core principle at home. The goal is to expose one part of a sample to light while protecting another, creating a clear comparison. This simple diagnostic step is essential for predicting the long-term stability of your chosen color, especially for walls that will receive direct sunlight.
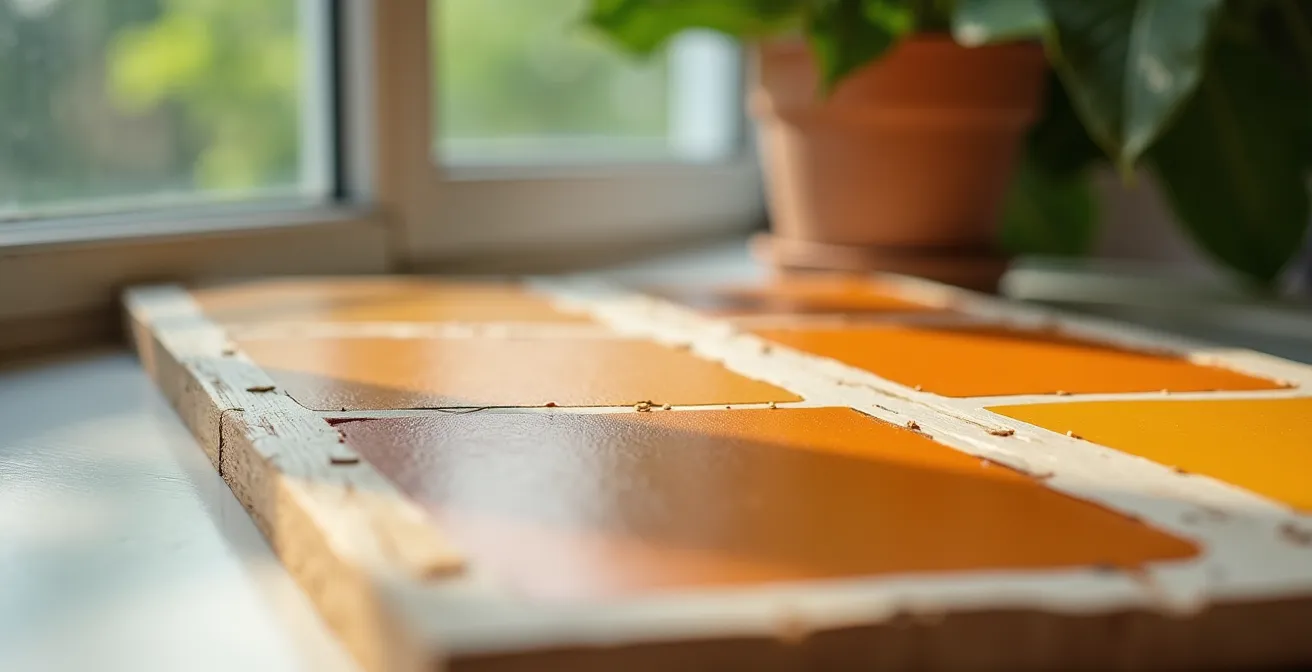
To conduct your own test, simply paint a sample of your chosen color on a small board or a piece of thick card. Once it’s fully dry, cover half of the sample with something completely opaque, like a piece of cardboard or several layers of black electrical tape. Place the sample in the sunniest window of your home and leave it for several weeks. After a month, remove the cover and compare the exposed and unexposed halves. If there’s a noticeable difference in color, you may want to choose a more lightfast pigment or plan to use that color on walls that don’t receive direct sun.
Clay or Chalk: Which Breathable Paint Is Best for Bedroom Walls?
When moving away from acrylics, two popular natural paint options emerge: clay-based paint and chalk-based paint. While both offer a beautiful, matte finish and are far healthier than their conventional counterparts, they have distinct properties that make them suitable for different needs. The most significant difference lies in their vapor permeability, or “breathability.” A breathable wall allows moisture to pass through it, helping to regulate indoor humidity and prevent issues like condensation and mold growth—a huge benefit for a healthy nursery.
Clay paint is the champion of breathability. Its primary binder is natural clay, which is highly hygroscopic, meaning it actively absorbs and releases moisture from the air, buffering humidity levels in the room. This creates a more stable and comfortable indoor climate. Chalk paint, which typically uses calcium carbonate, is also breathable but its properties can be compromised. Many modern “chalk-style” paints include acrylic or vinyl binders to improve durability, which in turn reduces their permeability. Furthermore, chalk paint is often sealed with wax or a topcoat for protection, which completely negates its breathability. For a bedroom wall where air quality and humidity regulation are priorities, unsealed clay paint is generally the superior choice.
The following table breaks down their key characteristics to help you decide:
| Property | Clay Paint | Chalk Paint |
|---|---|---|
| Primary Binder | Natural clay minerals | Calcium carbonate + acrylic/vinyl |
| Breathability | Excellent – fully vapor permeable | Limited if sealed |
| Hygroscopic Buffering | Superior moisture regulation | Moderate |
| Scrubbability | Delicate – not washable | Can be sealed for durability |
| Repairability | Easy seamless touch-ups | More difficult to blend |
| Acoustic Properties | Soft surface dampens sound | Harder finish, less absorption |
While clay paint is less durable and not scrubbable, its softness contributes to better room acoustics, and it is exceptionally easy to touch up seamlessly. For a nursery, where creating a calm, healthy environment is paramount, the superior moisture-regulating and acoustic properties of clay paint often outweigh the need for high durability.
The Adhesion Mistake That Causes Eco-Paint to Peel Off in Sheets
The single most common failure when using natural paints like clay or lime is catastrophic adhesion loss, where the paint peels off the wall in large sheets. This isn’t a fault of the paint itself but a fundamental misunderstanding of how it bonds to a surface. Unlike modern acrylic paints that form a plastic-like film and can stick to almost anything, natural paints require a porous surface to create a strong mechanical bond. They need to be able to soak into the substrate and “grip” it from within.
Most modern homes have walls coated with old layers of acrylic or vinyl paint, creating a sealed, non-porous surface. Applying a clay paint directly onto this plastic-like layer is like trying to paint on glass; there’s nothing for it to hold onto. Another common point of failure is new drywall. While the paper face is porous, the joint compound used to cover seams and screws is not, creating patches of different porosity that can lead to an uneven finish or peeling. It’s critical to remember that new plaster or joint compound requires 4-6 weeks to fully cure and release its moisture before it can be safely painted.
Before you even open a can of natural paint, you must diagnose your wall’s surface. The “water droplet test” is a simple and effective way to do this:
- Clean a small area of the wall and let it dry.
- Place a single drop of water on the surface.
- Observe it for 30 seconds. If the water beads up and sits on the surface, your wall is sealed and non-porous.
- If the water darkens the surface and soaks in, it’s porous and ready for a mineral primer.
If your surface is sealed, you must create a mechanical bond. This is achieved by thoroughly sanding the entire surface with 120-grit sandpaper to scuff it up and give the new primer something to grip onto. Skipping this crucial preparation step is the number one reason for paint failure.
Priming for Clay: How to Avoid Using 4 Coats of Expensive Paint?
Once you’ve ensured your surface is ready (sanded if necessary), the next step is priming. For natural paints, this isn’t just about ensuring an even color; it’s about creating a uniformly porous surface for that all-important mechanical bond. Using the wrong primer, or no primer at all, on a surface with varying porosity (like new drywall) will cause the paint to absorb unevenly. This results in a blotchy, uneven finish that can take three, four, or even more coats of expensive natural paint to correct.
A dedicated mineral or silicate primer is the ideal choice. These primers are designed to work with natural paints, creating a micro-textured, “toothy” surface that provides the perfect grip. When applying the primer, use a brush or roller to create a varied, cross-hatch pattern rather than uniform vertical strokes. This textured base further enhances the mechanical bond for the topcoat.

For new, unpainted drywall, there’s also a professional technique that can save significant time and money. This involves creating a “mist coat” as your priming layer.
Case Study: The Professional Mist Coat Technique
To equalize the porosity between the drywall paper and the joint compound, professional painters create a mist coat by diluting the actual clay paint with 30-40% water. This thin, watery coat is applied first. It soaks into the surface at different rates, effectively creating a uniform level of absorption across the entire wall. Once this mist coat is dry, the wall is properly prepped for the subsequent full-strength coats. This technique often reduces the total number of coats needed from a frustrating four or more down to just two or three, saving both labor and costly material.
By investing time in proper priming, you ensure the clay paint performs as intended, giving you a beautiful, even, and long-lasting finish without wasting product.
Hempcrete or Mineral Wool: Which Offers Better Thermal Regulation?
Creating a healthy nursery goes beyond non-toxic paint; it extends to the very materials that make up the walls. A baby’s body is less able to regulate its own temperature, making a stable room temperature crucial for comfort and safety. Two excellent natural insulation materials, hempcrete and mineral wool, offer superior thermal performance but function in very different ways.
Mineral wool (or rock wool) works through thermal resistance. It’s made of spun rock fibers that trap air, preventing the transfer of heat. It’s highly effective at keeping a room warm in the winter and cool in the summer, similar to traditional fiberglass but without the associated fiberglass particles and formaldehyde binders. It is an excellent choice for insulating wall cavities in a standard framed house.
Hempcrete, on the other hand, works primarily through thermal mass. It’s a mixture of hemp hurd, lime, and water that creates a solid, breathable wall. Instead of just resisting heat transfer, it absorbs heat from the air when the room is warm and releases it back when the room cools down. This property, combined with its high vapor permeability, creates an incredibly stable indoor environment, moderating both temperature and humidity swings. While it’s a more involved construction method than simply adding insulation batts, a hempcrete wall provides a uniquely comfortable and healthy living space. For a nursery, this means a more consistent temperature throughout the day and night, leading to better sleep and less stress on a baby’s system.
How to Choose Plants That Actually Clean the Air in Low-Light Rooms?
A popular tip for improving indoor air quality is to add houseplants. This idea stems from a famous 1989 NASA study. However, the context of that study—a small, sealed chamber—is often lost in translation. To achieve any meaningful air purification in a real-world room with normal ventilation, you would need a dense jungle of plants. As many environmental scientists now point out, the effect is negligible compared to simply opening a window or using a good air purifier.
While technically true, you would need hundreds of plants in a single room to equal the effect of simply opening a window or using a modest air purifier.
– Environmental Scientists, NASA Clean Air Study Analysis
So, should you skip the plants? Absolutely not. While their air-cleaning abilities are overstated, their psychological benefits are well-documented. Plants are a cornerstone of biophilic design, connecting us to nature and reducing stress. The key is to choose the right plants for the nursery environment: they must be non-toxic, low-maintenance, and able to thrive in the lower-light conditions common in bedrooms.
Here are some excellent, resilient choices that are safe for a nursery and tolerant of low light:
- Snake Plant (Sansevieria trifasciata): Nearly indestructible, it tolerates neglect and a wide range of light conditions. Its vertical form adds a nice architectural element.
- ZZ Plant (Zamioculcas zamiifolia): With its glossy, dark green leaves, the ZZ plant looks great even in deep shade and is extremely drought-tolerant.
- Cast Iron Plant (Aspidistra elatior): This plant lives up to its name, surviving in conditions where other plants would wither. It’s a perfect choice for a dim corner.
To enhance the subtle benefits plants do offer, you can add activated charcoal to the potting mix, which helps the soil microbiome break down pollutants. Placing plants at different heights can also encourage better air circulation through their foliage.
Key Takeaways
- “Zero-VOC” doesn’t mean zero fumes; the chemical curing process of acrylics can last for weeks.
- Natural paints like clay require a porous surface for a mechanical bond; always perform a water droplet test on existing walls.
- A “mist coat” (diluted paint) is a professional technique to prime new drywall, saving time and money on expensive natural paint.
How to Lower Cortisol Levels at Home Using Biophilic Design Principles?
Creating a truly healthy nursery is about more than just avoiding toxins; it’s about designing a space that actively calms the nervous system. This is the core of biophilic design, an approach that incorporates elements of nature to reduce stress. A key concept within this field is the “Prospect and Refuge” theory, which taps into our evolutionary need for safety and awareness.
Case Study: Prospect and Refuge Theory in Nursery Design
The theory states that we feel most at ease in a protected space (refuge) that also offers a clear view of our surroundings (prospect). In a nursery, this translates to placing the crib in a corner or alcove, with its back to a solid wall, while ensuring it has an unobstructed view of the room’s entrance. This simple layout provides a sense of security while allowing for awareness. Research has shown that environments designed with this principle in mind can have a measurable impact on our physiology. For instance, positioning a crib in this manner can reduce cortisol levels (the primary stress hormone) in both infants and their caregivers, promoting better sleep and a calmer disposition.
Beyond furniture placement, you can layer biophilic principles throughout the room to create a rich, sensory-calming experience. This involves using natural materials, varied lighting, and patterns that mimic those found in nature. The goal is to create a space that feels like a serene natural haven.

Integrating these elements doesn’t have to be complex. It’s about making conscious choices with materials, light, and texture to build a foundation of calm. The following checklist provides a practical starting point for applying these powerful principles.
Your Action Plan: Implementing Biophilic Design
- Lighting: Install dimmable, warm-tone bulbs (2700K) on multiple circuits to create soft, layered light instead of harsh overhead lighting.
- Materials: Incorporate natural, untreated wood elements, such as an oak bookshelf or a birch crib, and natural fiber textiles like wool rugs, linen curtains, or organic cotton blankets.
- Patterns: Introduce fractal patterns found in nature through textiles or art—subtle leaf prints, branch motifs, or shell-like geometric patterns.
- Sensory Input: Add a small, quiet tabletop fountain for gentle white noise and use natural materials with varied textures (soft wool, smooth wood, rough linen) for tactile comfort.
- Layout: Consciously position the crib and a comfortable feeding chair to create “prospect-refuge” zones, ensuring a sense of safety and a clear view of the door.
Now, you have the expert knowledge to move beyond marketing labels and create a nursery that is not only beautiful but fundamentally safe and nurturing. Begin designing your baby’s healthy haven with confidence.