When a heatwave hits, the common advice feels frustratingly familiar: close the curtains, use a fan, and avoid the oven. While not wrong, these tips only scratch the surface. They treat the symptoms of a hot house without addressing the root cause. The default response is often to rely entirely on mechanical air conditioning, which drives up energy demand without solving how a building naturally interacts with heat.
But what if the solution wasn’t a bigger machine, but a smarter approach? The principles of passive house design offer a more elegant and effective way to manage indoor temperatures. This isn’t about a random list of “hacks”; it’s about understanding the fundamental physics of your home—how it absorbs, retains, and sheds heat. By mastering four levers—thermal mass, airflow, radiant heat, and humidity—you can transform your living space from a passive heat trap into an active cooling system.
This guide deconstructs the science behind keeping your home cool. We move beyond the obvious tips to explore the physics of how your walls store energy, how to strategically orchestrate airflow, and why the location of your shades matters more than the material. Prepare to think like a building scientist and reclaim your comfort, no AC required.
- Treat your home like a thermal battery: absorb coolness at night and seal it in during the day.
- Master airflow by creating pressure differentials with windows and fans to actively pull cool air in—and never ventilate when the outside air is hotter than the inside.
- Block radiant heat at the source, on the outside of your windows, to prevent it from ever entering your home.
- Reduce indoor humidity to make the same air temperature feel significantly cooler and more comfortable.
- Why Stone Walls Keep You Cool During the Day but Hot at Night (Thermal Mass)
- How to Master Airflow: Cross-Ventilation and the Ventilation Mistake to Avoid
- External Shutters or Blackout Curtains: Which Stops Heat Better?
- Dehumidifying and Daily Routines: Feeling Cooler Without Lowering the Temperature
- Sizing Your Cooling Strategy and the Real Payback of a Passive Approach
Why Stone Walls Keep You Cool During the Day but Hot at Night (Thermal Mass)
A stone house stays cool during the day because of thermal mass: high-mass materials like stone, brick and concrete slowly absorb heat, delaying its penetration indoors. The flip side is that at night, these walls release the stored heat back into the house—which is why the same home can feel oppressively warm in the evening.
The feeling of a cool stone building on a hot afternoon isn’t magic; it’s physics. This phenomenon is due to a property called thermal mass: the ability of a material to absorb, store, and later release heat energy. Materials with high thermal mass—stone, concrete, brick—act like thermal batteries. During the day, as the sun beats down, they slowly absorb a massive amount of heat, keeping the interior pleasantly cool. This “thermal lag” prevents daytime heat from quickly penetrating your living space.
However, this thermal battery has a flip side. As night falls and the outside air cools, the process reverses. The walls, now fully charged with heat, begin to radiate that stored energy back into the house. This is why a stone house can feel warm long after the sun has set. The key to leveraging thermal mass is to control this charge-and-discharge cycle—purging the stored heat with cool night air, then protecting the walls from daytime gains.
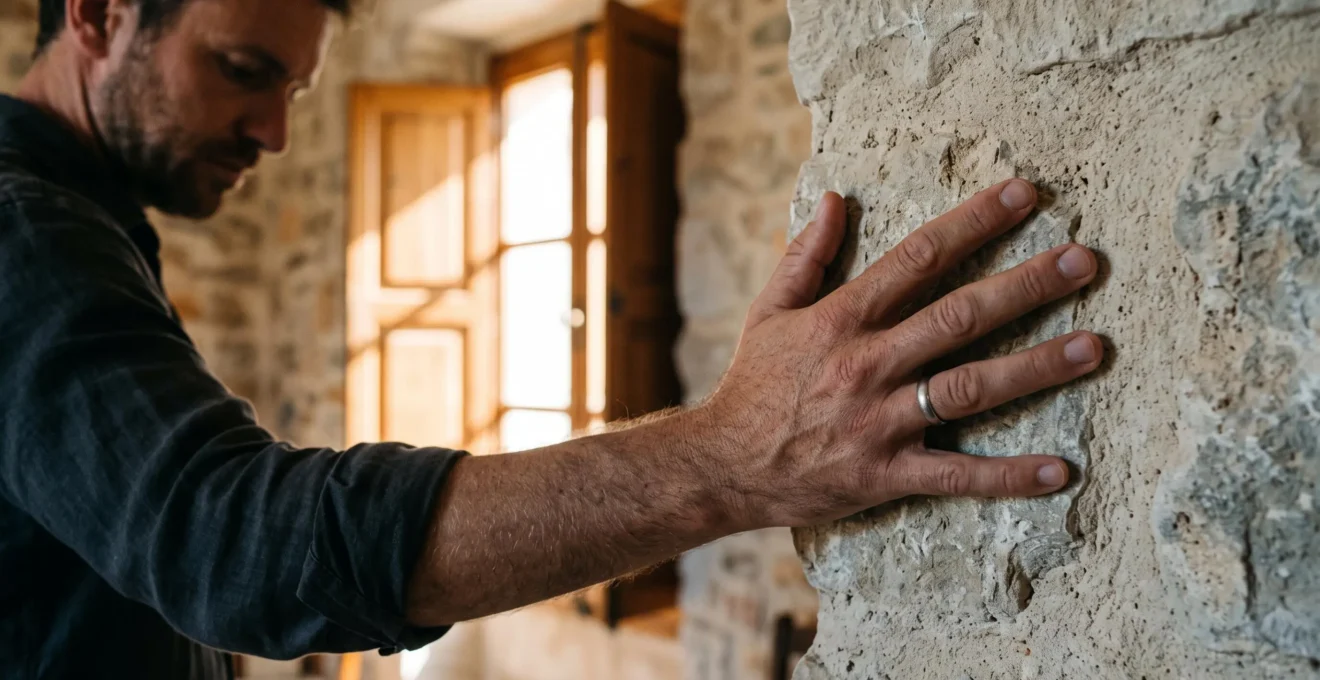
The choice of material matters as much as the principle. Research from Jordan demonstrates that a room with traditional clay walls (high thermal mass) stayed 4°C cooler than one with concrete walls, and a remarkable 10°C cooler than the outside temperature during the day—showcasing the power of the right material.
Thermal mass is the first of four building blocks in a passive cooling system: mass, air, radiant heat, and humidity. Understanding how your walls store energy is the foundation; the next step is learning how to move air through—and then seal—your home at the right moments.
How to Master Airflow: Cross-Ventilation and the Ventilation Mistake to Avoid
The golden rule of passive ventilation: ventilate at night to purge stored heat, and never open your windows when the outside air is hotter than the inside air. Moving air cools you through convection and evaporation—but hot air invited in during the day will be absorbed by your walls and stay there.
Moving air is a powerful cooling tool, not because it lowers the air temperature, but because it accelerates heat transfer away from your skin through convection and evaporation. The common instinct is to point a fan directly at you, but a more effective, whole-room strategy involves creating a pressure differential. This turns your home into a wind tunnel, actively pulling in cool air and exhausting hot air.
At night: create a cross-breeze that flushes out the heat
The most effective method is cross-ventilation. The counter-intuitive key is to place a box fan in one window facing outward. This actively pushes hot, stale air out of the room, creating a low-pressure zone. Nature abhors a vacuum, so cooler, higher-pressure outside air is drawn in through another open window—ideally on the opposite side of the house and in the shade. Fans don’t “cool” the air; they move it. By using a fan to exhaust air, you use physics to create a consistent, refreshing breeze.
To maximize this effect, close all other windows and interior doors to channel the airflow into a direct path between the inlet and the outlet. Given that up to 30% of unwanted heat comes via windows, managing them for airflow is as crucial as managing them for sunlight. A full night of cross-ventilation purges the heat stored during the day in your home’s thermal mass—this is what building scientists call night-flush ventilation.
During the day: seal the house like a thermos
Ventilation is a double-edged sword. Applying nighttime logic during the day is the single most common mistake that actively heats up a home. Opening windows on a hot afternoon doesn’t let “fresh air” in; it invites a wave of heat that your walls will promptly absorb. Think of your house like a thermos: after a night of cooling, your goal in the morning is to trap that cool air inside for as long as possible.
This means closing and sealing all windows and doors, and drawing blinds or shutters. By creating a sealed thermal envelope, you slow the rate at which the day’s heat can infiltrate your cool reservoir. Running kitchen or bathroom exhaust fans during this time is also a mistake, as they actively pull hot makeup air into the house through tiny cracks and gaps.
- Night and early morning (outside cooler than inside): open windows on opposite sides, place a fan blowing outward in one of them, close interior doors to channel the airflow.
- Morning, before the outside warms up: close every window and door, lower blinds and shutters, switch off standby electronics.
- Day (outside hotter than inside): keep the house sealed; do not run exhaust fans that pull hot air in.
- Evening, once the outdoor temperature drops below the indoor temperature: reopen and start the purge again.
Important : The only reliable way to know when to ventilate is to use two thermometers—one inside, one outside in the shade. Only when the outdoor temperature drops below the indoor temperature should you begin the ventilation process.
This disciplined cycle of nighttime cooling and daytime sealing forms the foundation of passive temperature management. However, natural ventilation reaches its physical limit during prolonged heatwaves when nighttime temperatures remain elevated. In such conditions, pairing passive shading habits with energy-efficient climate systems, such as those engineered by Westpoint Group, helps maintain safe indoor conditions while keeping overall energy consumption under control.
External Shutters or Blackout Curtains: Which Stops Heat Better?
External shutters, awnings and solar screens are dramatically more effective than internal blackout curtains because they block solar radiation before it reaches the glass. Interior curtains only act after heat has already entered the room, trapping it between the fabric and the window.
When the sun hits a window, it introduces heat into a room through radiant heat gain. The most common defense is an internal blackout curtain. While it does block visible light, a significant amount of heat has already passed through the glass and is now trapped between the curtain and the window, where it slowly radiates into the room. According to some studies, even the most effective neutral-toned curtains with white plastic backings can reduce heat gain by up to 33 percent.
The far superior strategy is to stop the sun’s rays before they hit the glass. This is where external solutions shine. External shutters, awnings, or purpose-built solar screens create a physical barrier outside the thermal envelope: the heat is absorbed and dissipated into the outside air, never getting a chance to heat the window pane itself. The difference in performance is not minor; it’s a game-changer.
The following table compares the main window protection solutions on heat reduction, cost, installation effort and impact on visibility, so you can match a solution to your situation.
| Solution Type | Heat Reduction | Cost Range | Installation Difficulty | Visibility Impact |
|---|---|---|---|---|
| Internal Blackout Curtains | Up to 33% | $30-150/window | Easy (DIY) | Blocks all light |
| External Shutters | Up to 90% | $200-600/window | Professional needed | Adjustable |
| Window Film | 30-50% | $20-80/window | Moderate (DIY) | Slight tint |
| External Awnings | 65-77% | $300-800/window | Professional needed | No impact on view |
How to decide? If you rent or need an immediate, low-budget fix, internal curtains or window film offer a meaningful improvement you can install yourself. If you own your home and want maximum long-term performance, external shutters deliver the strongest heat reduction, while awnings suit those who want to preserve the view. In every case, the principle stays the same: to truly combat radiant heat, the battle must be won on the exterior of your home.

Dehumidifying and Daily Routines: Feeling Cooler Without Lowering the Temperature
Perceived temperature depends heavily on humidity: drier air lets sweat evaporate faster, so 26°C at 40% humidity feels far more comfortable than the same temperature at 80%. Reducing indoor moisture sources and locking in the night’s coolness every morning are the two daily habits that amplify every other passive cooling lever.
Perceived temperature isn’t just about the number on the thermometer; it’s heavily influenced by humidity. Humid air feels warmer because high moisture content slows the evaporation of sweat from your skin—your body’s primary cooling mechanism. As home climate experts confirm, drier air enhances the body’s natural cooling process, making 26°C (79°F) at 40% humidity feel far more comfortable than the same temperature at 80% humidity.
Many daily activities introduce moisture into your home’s air: cooking, showering, even breathing. A mechanical dehumidifier is an option, but it also produces waste heat. A passive-first approach focuses on prevention at the source—drier indoor air also makes the daytime sealed-house routine far more bearable.
Your Home Humidity Audit Checklist
- Kitchen Sources: Cover all boiling pots when cooking. Use cold water for washing when possible to minimize steam.
- Bathroom Sources: Run the bathroom exhaust fan during and for 20 minutes after every shower.
- Appliance Vents: Check that your clothes dryer is properly vented to the outside, not into an attic or crawlspace.
- Plumbing Leaks: Inspect under sinks and around toilets for any leaks. Even small, slow drips add significant moisture over time.
- Laundry Habits: Avoid hanging wet clothes to dry indoors during hot, humid weather. If you must, place them in a small, closed room with a dehumidifier.
The morning lockdown: your daily “away” routine
In the context of passive cooling, an “away” routine isn’t about adjusting a thermostat; it’s a physical lockdown procedure to preserve the cool air captured overnight. The most crucial part is timing. The morning lockdown must happen before the outside temperature surpasses the inside temperature—typically before 9 AM in summer. This involves closing every single window and, critically, all blinds, curtains, or shutters, especially on the east, south, and west-facing sides of the house. You are putting your home into “thermos mode.”
Additionally, turn off all non-essential electronics. Devices on standby—TVs, chargers, game consoles—generate a surprising amount of “phantom heat” that slowly warms your sealed environment. Maintaining this consistent morning routine transforms night-flush cooling from an occasional reaction into a reliable, proactive habit for summer comfort.
Case Study: The “Night-Flush” Ventilation Strategy
In regions like Vermont, where summer temperatures can be high during the day but drop significantly at night, homeowners use night-flush ventilation. They take full advantage of cool evenings by opening windows to create a cross-breeze, allowing cool air to circulate all night and purge the heat stored in the home’s thermal mass. The critical follow-up step is closing all windows and blinds in the morning before the day heats up, effectively trapping the coolness inside for hours.
Sizing Your Cooling Strategy and the Real Payback of a Passive Approach
The most efficient passive strategy starts at the personal scale: cooling yourself is faster and cheaper than cooling an entire unoccupied house. The true “payback” of a passive approach isn’t a lower utility bill—it’s thermal autonomy, resilience during outages, better air quality, and improved well-being.
Think micro first: size your efforts to your immediate environment
In conventional homes, “sizing” means choosing a right-sized AC unit—an oversized unit cycles on and off too quickly, dehumidifies poorly and wears out prematurely. In a home without AC, the parallel “sizing mistake” is assuming you need a single, powerful solution to cool the entire house. This thinking leads to frustration. Instead of trying to cool the entire building, focus on personal cooling first.
Why expend massive energy lowering the temperature of an entire unoccupied house when you can create a microclimate of comfort around yourself? A damp cloth on your neck, a small fan aimed at your workspace, or cooling your body from the inside out with cold drinks provide immediate relief. This approach is more efficient and more resilient: it relies on small, inventive, often non-electric solutions. It’s about being a sniper, not a bomber, in the fight against heat.
Case Study: Sized-for-One Personal Cooling
René Lauderback Robinson of Tulsa, Oklahoma, exemplifies this personal sizing principle. Instead of trying to cool her whole house, she uses homemade “corn sacks” stored in her freezer. She sews fabric bags in various sizes—a small one for a pillow, a long one to drape across her neck—and fills them with deer corn. The dense corn holds the cold for a remarkably long time, providing direct, localized cooling with no electricity and nothing to melt or cause a mess. It’s a perfectly “sized” solution for personal comfort.
The real return on investment: autonomy, health, resilience
Investing time to learn these techniques, or money in external shutters and improved insulation, doesn’t offer a simple monthly saving on a utility bill. The returns are more profound. The primary payback is thermal autonomy: the ability to maintain a comfortable living space regardless of the outdoor temperature, without depending on a mechanical system. This brings increased resilience—crucial during power outages that often coincide with extreme heatwaves.
These investments also pay dividends in health. Natural ventilation enhances indoor air quality by reducing pollutants and CO2 buildup, and a home that “breathes” properly while maintaining a stable temperature contributes to better sleep and overall well-being.
- Increased comfort and well-being without dependency on mechanical systems.
- Resilience during power outages, as the house stays cooler naturally.
- Improved indoor air quality through consistent natural ventilation.
- A significantly reduced environmental impact and personal carbon footprint.
- Potentially enhanced property value due to permanent energy-efficient features.
Key Takeaways
- Manage Thermal Mass: Use your home’s structure as a battery—charging it with cool air at night and sealing it during the day.
- Control Airflow with Intention: Create pressure differentials to actively pull cool air in and push hot air out, rather than just circulating it.
- Block Radiant Heat Externally: The most effective way to stop solar heat is to block it before it ever touches your window glass.
By embracing these physics-based principles, you move from being a victim of the weather to being the conductor of your own comfortable indoor climate. The next logical step is to perform a simple thermal audit of your own home—checking your walls’ mass, your shading, your ventilation habits, and your humidity sources—to identify your biggest opportunities for improvement.