In summary:
- Transform your soil into a “water sponge” with compost to drastically cut watering needs.
- Harvest and reuse “waste” water from your home, like laundry or roof runoff.
- Deliver water directly to plant roots using drip irrigation to eliminate evaporation.
- Design a resilient landscape that manages both drought and heavy rain effectively.
The sight is a familiar heartbreak for any gardener in a dry region: a once-lush landscape turning brittle and brown under a relentless sun, made worse by the strict water bans that tie your hands. You’ve diligently followed the common advice—mulching, watering at dawn—yet your garden still struggles. It feels like a losing battle against the climate, a constant source of stress where there should be joy and abundance. This struggle often stems from treating the symptoms of drought rather than engineering a solution at the root of the system.
Many gardening guides focus on isolated tactics. They tell you to pick drought-tolerant plants or to install a rain barrel, but they miss the larger, more powerful picture. These are just pieces of the puzzle. The real secret to a thriving garden in arid conditions isn’t just about saving water; it’s about fundamentally redesigning your garden’s relationship with every single drop. What if the key wasn’t simply to use less water, but to create a self-regulating, closed-loop ecosystem where water is captured, stored, and recycled with maximum efficiency?
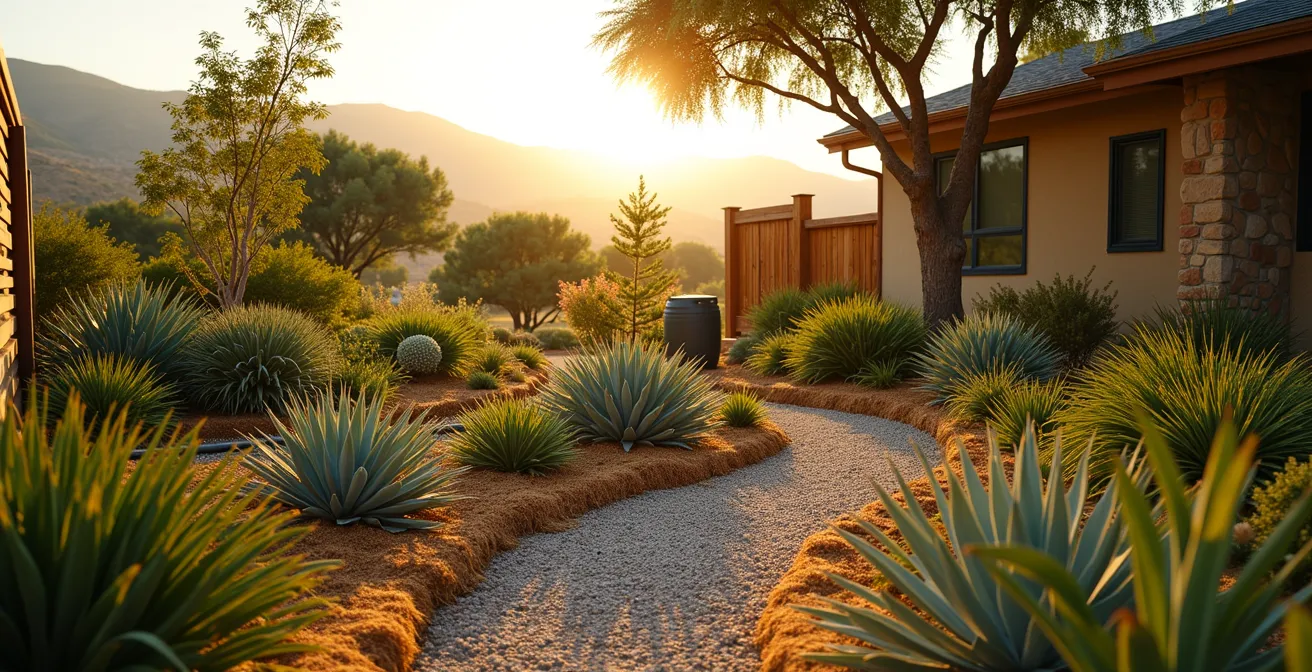
This is the philosophy of a truly water-wise, resilient landscape. It’s an approach that transforms your soil and plants from passive water consumers into active partners in conservation. Instead of fighting the drought, you’ll learn to work with its cycles. This guide will walk you through the core principles and practical strategies to build this system, moving beyond simple tips to create a garden that is not only beautiful and productive but also a model of ecological intelligence, capable of weathering both prolonged dryness and sudden downpours.
To help you navigate these advanced strategies, we’ve broken down the process into key components. This article explores everything from supercharging your soil’s water capacity to safely recycling household water and choosing the most efficient irrigation methods, building a complete blueprint for a drought-proof garden.
Summary: 8 Strategies for a Resilient, Water-Wise Garden
- Why Adding Compost Reduces Your Watering Needs by 30%?
- How to Safely Route Laundry Water to Your Flower Beds?
- Drip Emitters or Soaker Hoses: Which Saves More Water for Veggies?
- The Watering Mistake That Evaporates 50% of Your Water Before It Hits Roots
- Sizing Your Cistern: How to Calculate Roof Runoff Potential?
- Dehumidifying Strategies: Feeling Cooler at 26°C by Lowering Moisture
- The Drainage Mistake That Creates Gullies Instead of Solving Them
- How to Stop Your Backyard From Washing Away During Heavy Rains?
Why Adding Compost Reduces Your Watering Needs by 30%?
The foundation of any drought-resilient garden is not the plants, but the soil itself. In xeriscaping, we don’t just see soil as dirt; we see it as a living reservoir, a ‘soil sponge’. The single most effective way to build this sponge is by incorporating high-quality compost. When you add organic matter, you are fundamentally changing the soil’s structure. Clay soils, which are dense and prone to runoff, become more aerated and permeable. Sandy soils, which drain too quickly, gain the ability to hold onto moisture for far longer.
This isn’t just a marginal improvement. The transformation is dramatic. Research from Michigan State University shows that adding composted leaf mulch can lead to a 250% increase in water holding capacity in sandy soils. For a gardener, this means the water you apply—or the rain that falls—stays in the root zone where plants can access it, instead of draining away or evaporating. A soil rich in organic matter acts like an insurance policy against dry spells, slowly releasing moisture to plant roots long after the last watering.
Building this soil sponge is an ongoing process. Aim to amend your beds with a 2- to 3-inch layer of compost each year. This not only improves water retention but also provides a slow-release source of nutrients, reducing the need for synthetic fertilizers. Over time, you create a rich, dark, and crumbly medium teeming with microbial life—an ecosystem that actively works to keep your plants hydrated. This is the first and most critical step in moving from a water-dependent garden to a self-sufficient one.
How to Safely Route Laundry Water to Your Flower Beds?
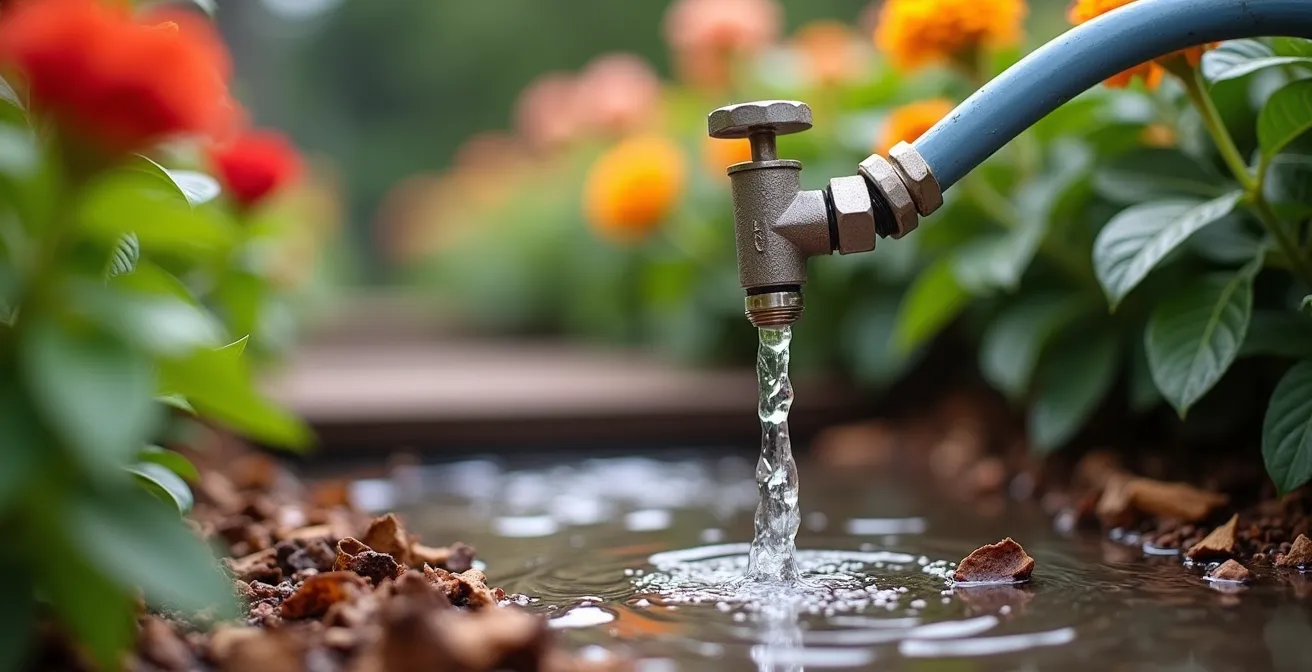
Once your soil is ready to act as a sponge, the next step is to find new sources of water to fill it. In a water-wise landscape, we see every drop as a precious resource, including the “greywater” produced by your household. Laundry water is an excellent and consistent source, but it must be handled correctly to be safe and effective for your garden. The key is to use a simple diversion system and, most importantly, to use plant-friendly detergents that are free from salts, boron, and chlorine bleach, which can harm soil and plants over time.
A “laundry-to-landscape” system can be surprisingly simple. It typically involves a three-way diverter valve installed on your washing machine’s drain hose. This allows you to easily switch the water flow between the sewer and your garden. The water is then routed through a pipe to a series of mulch basins—shallow, wood-chip-filled pits dug near your plants. The mulch acts as a filter, trapping lint and soap residues while allowing the water to slowly and evenly soak into the soil, directly irrigating the root zones of trees, shrubs, and ornamental perennials. This avoids surface runoff and evaporation.
Case Study: Simple Greywater Irrigation
Even without plumbing, the principle holds. A household in a drought-prone area successfully maintained its ornamental plants by collecting kitchen washing water in a watering can. As reported in a case study on drought gardening, by using only natural washing liquids, they preserved their limited rainwater for edible crops. This simple, non-permanent system demonstrates that greywater recycling is accessible to any gardener willing to rethink their water use.
This setup creates a closed-loop system where resources are recycled on-site. The water that cleaned your clothes now nourishes your flower beds, reducing your reliance on municipal water and keeping your garden green even when taps are restricted. It’s a powerful example of creative and resilient design in action.
Drip Emitters or Soaker Hoses: Which Saves More Water for Veggies?
Delivering water efficiently is just as important as sourcing and storing it. Overhead sprinklers are notoriously wasteful, losing a significant amount of water to wind and evaporation. For vegetable gardens and planted beds, the choice often comes down to two highly efficient methods: drip emitters and soaker hoses. Both deliver water directly to the soil, but they are suited for different applications. By choosing the right tool, you can achieve remarkable efficiency, with studies showing that drip irrigation systems are capable of reducing water needs by 50% or more compared to traditional sprinklers.
Drip emitters are best for plants arranged in distinct, spaced rows, like tomatoes, peppers, or shrubs. They allow you to place a precise amount of water exactly at the base of each individual plant. This precise targeting is the pinnacle of water efficiency. Soaker hoses, which are porous and weep water along their entire length, are ideal for dense plantings where individual emitters would be impractical, such as beds of lettuce, carrots, or groundcover. This technique of grouping plants with similar water needs and irrigating them with a tailored system is a core xeriscaping principle known as hydrozoning.
To make the best decision for your garden’s specific layout and needs, a direct comparison is helpful. This analysis from a recent guide on wise watering breaks down the key factors:
| Factor | Drip Emitters | Soaker Hoses |
|---|---|---|
| Water Efficiency | 90-95% reaches roots | 85-90% reaches roots |
| Best For | Individual plants in rows (tomatoes, peppers) | Dense plantings (lettuce, carrots) |
| Initial Cost | $50-100 per 100ft | $20-40 per 100ft |
| Lifespan | 10-15 years | 5-8 years |
| Clogging Risk | High in hard water areas | Low to moderate |
| Repair Difficulty | Easy – replace individual emitters | Moderate – patch or replace sections |
Ultimately, a hybrid approach may be best. Use drip emitters for your fruit trees and vegetable rows, and soaker hoses for your densely planted flower beds. By matching the delivery system to the planting style, you ensure that every drop is put to productive use, fostering a thriving garden with minimal waste.
The Watering Mistake That Evaporates 50% of Your Water Before It Hits Roots
Even with the most efficient irrigation system, your efforts can be completely undermined by one simple mistake: timing. Watering your garden in the middle of a hot, sunny, or windy day is the single most common and wasteful practice. The heat and wind work together to evaporate water from the air, from the surface of leaves, and from the top layer of soil before it ever has a chance to penetrate down to the root zone where it’s needed.
The scale of this loss is staggering and often underestimated. It’s a point emphasized by horticultural experts time and again. As The Old Farmer’s Almanac highlights in its guide to water-wise gardening:
Watering in the afternoon or in weather above 90°F may cause up to 50% of your water to be lost due to evaporation
– The Old Farmer’s Almanac, Water-Wise Gardening in Drought
To avoid this, the rule is simple: water only in the early morning. Between 4 a.m. and 9 a.m., the air is cool, the sun is low, and the wind is typically calm. This gives the water time to soak deep into your ‘soil sponge’, replenishing the moisture reservoir around the roots. An even more advanced technique, inspired by ancient practices, is subsurface irrigation using ollas—unglazed terracotta pots buried in the garden. You fill the olla with water, and its porous walls allow moisture to seep out slowly and directly into the surrounding soil, delivering water to the roots with virtually zero surface evaporation.
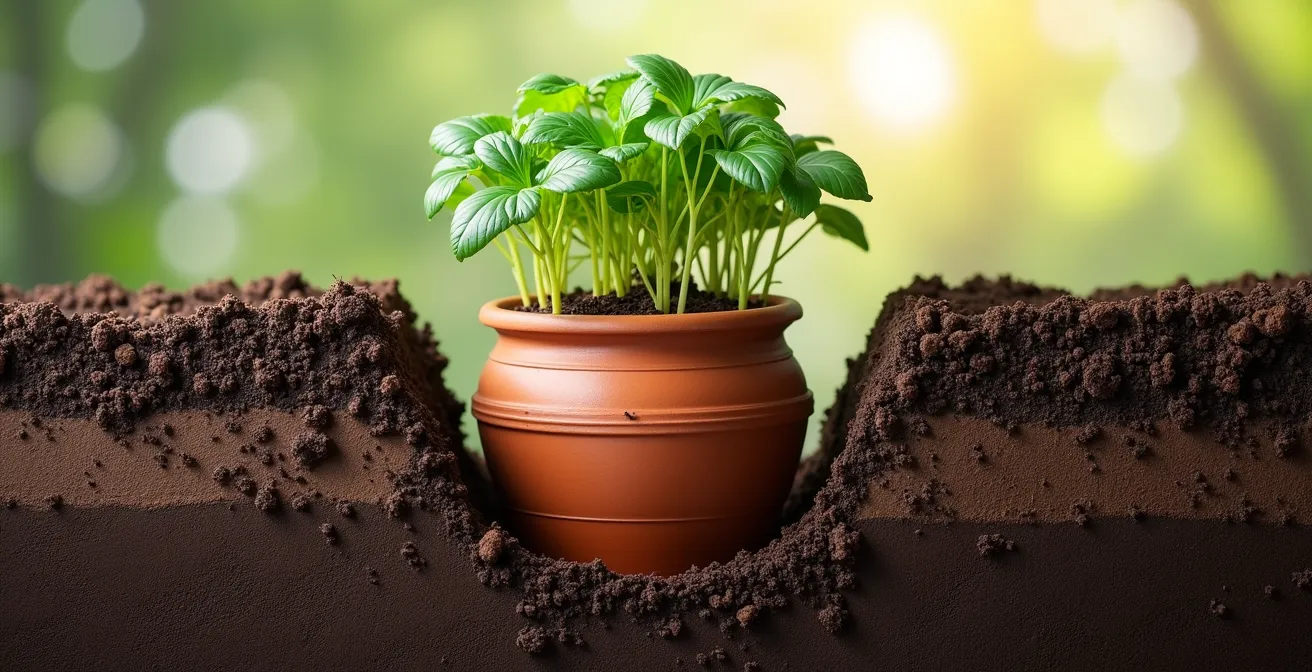
This method is incredibly efficient and self-regulating; the plants’ roots draw water from the pot as needed. By combining proper timing with smart delivery methods like drip lines or ollas, you can eliminate evaporation as a major source of water loss and ensure your garden gets the full benefit of every drop you apply.
Sizing Your Cistern: How to Calculate Roof Runoff Potential?
Actively harvesting rainwater is the ultimate step toward water self-sufficiency. Your home’s roof is a massive, impermeable collection surface that can capture a surprising amount of water during a storm, water that would otherwise be lost to storm drains. A cistern or rain barrel system allows you to store this free, high-quality water for use during dry periods, providing a critical buffer when municipal supplies are restricted. The potential is significant; even a modest roof can yield a substantial harvest.
For perspective, consider that a 1,000-square-foot roof collects approximately 625 gallons from a single inch of rain. Calculating your specific roof’s potential and your garden’s needs is the key to sizing a cistern that will make a real difference. You need to balance the potential supply (your roof area and local rainfall patterns) with your garden’s demand during the driest months. This ensures your investment in a storage system provides a meaningful ‘drought bridge’—enough water to sustain your key plants through an average dry spell.
Don’t be intimidated by the calculations. Breaking it down into a step-by-step process makes it manageable for any homeowner. The goal is to make an informed decision rather than guessing at the right tank size. Properly sized, a cistern transforms your home into an active component of your garden’s resilient water ecosystem.
Your Action Plan: Calculating Cistern Size
- Measure Your Contact Points: Calculate your roof’s footprint area in square feet (length × width) that will feed into the cistern.
- Collect Local Data: Find your area’s average monthly rainfall using online government weather data or almanacs. Focus on the rainy season for collection potential.
- Assess Coherence and Efficiency: Use the formula: Gallons = Roof Area (sq ft) × Rainfall (inches) × 0.623. Then, multiply this total by an efficiency factor (typically 0.85 for asphalt shingles, 0.95 for metal roofs) to account for losses.
- Determine Your “Drought Bridge”: Estimate your garden’s daily water use in gallons during the dry season and multiply it by the number of days in your typical longest dry spell. This is your target storage volume.
- Create Your Integration Plan: Choose a cistern size that meets or exceeds your calculated “drought bridge” needs. A common goal is to have enough capacity to last for one to two months without rain.
Dehumidifying Strategies: Feeling Cooler at 26°C by Lowering Moisture
Indoors, we battle summer heat by running air conditioners and dehumidifiers, pulling moisture from the air to feel cooler. It’s a logical approach for an enclosed space. However, applying this “dehumidifying” mindset to a garden is a profound mistake. A resilient, water-wise landscape does the exact opposite: it strategically uses and celebrates moisture to create a cooler, more livable microclimate. The goal is not a dry, arid landscape, but a lush one that is simply very, very smart about its water use.
Plants are natural air conditioners. Through a process called evapotranspiration, they draw water from the soil and release it as cool vapor through their leaves. A single large tree can transpire up to 100 gallons of water on a hot day, providing a cooling effect equivalent to several room-sized air conditioners. A well-planted garden, a thriving lawn, or a vine-covered wall all contribute to this process, actively lowering the ambient temperature in and around your home. A dry, barren yard of gravel and concrete, by contrast, absorbs and radiates heat, creating a “heat island” effect that makes your home hotter and your air conditioner work harder.
Therefore, the most effective “cooling strategy” for your yard is to foster healthy, well-hydrated plant life. The very systems we’ve discussed—a ‘soil sponge’ that holds moisture, efficient irrigation that keeps plants healthy, and shade from trees—all work together to maximize this natural cooling. So, while you dehumidify indoors to feel cooler at 26°C, you should be aiming to “humidify” outdoors through healthy plant life to achieve that same comfortable feeling. It is the presence of moisture in the landscape, used wisely, that builds resilience and comfort.
The Drainage Mistake That Creates Gullies Instead of Solving Them
A landscape designed for drought must also be prepared for deluge. In many climates, weather patterns are becoming more extreme: long dry spells punctuated by short, intense downpours. A common but critical mistake is to treat this excess water as a problem to be disposed of as quickly as possible. Homeowners install impermeable concrete patios and gutters that funnel torrents of water directly onto driveways or into storm drains. This “fast disposal” approach is a disaster for a water-wise garden.
When water moves too quickly across a surface, it gains erosive power. It carves out gullies in your garden beds, washing away the precious, compost-rich topsoil you worked so hard to build. It compacts the soil surface, reducing its ability to absorb future rainfall and exacerbating runoff in a vicious cycle. You are not only losing the water itself but also actively damaging the “soil sponge” that is your best defense against the next drought. A gully is a sign that your landscape’s drainage is fighting against nature, not working with it.
The resilient solution is to slow, spread, and sink the water. Instead of concentrating flow, you want to disperse it. This means replacing impermeable surfaces with permeable ones like gravel or spaced pavers. It means directing downspouts not to concrete, but to vegetated areas. The goal is to give every raindrop a chance to be absorbed by the soil. By stopping the creation of gullies, you are turning a destructive force into a regenerative one, using storm events to fully recharge your soil’s moisture reservoir for the dry days ahead.
Key Takeaways
- Your primary goal is to build a “soil sponge” with compost; it acts as your garden’s main water reservoir.
- Treat all water as a resource to be captured and reused, from laundry greywater to roof runoff.
- Maximize efficiency by delivering water directly to plant roots with methods like drip irrigation or ollas to eliminate evaporation waste.
How to Stop Your Backyard From Washing Away During Heavy Rains?
Preventing your backyard from eroding during a downpour is the other half of creating a truly drought-proof landscape. The strategies to manage deluges are the very same that build long-term water security. By actively designing your garden to capture and hold rainwater, you transform a potential disaster into a massive deposit into your soil’s water bank. This requires thinking of your landscape as a series of gentle terraces and sponges rather than a sloped, hard surface.
The most powerful tools for this are landscape features like bioswales and rain gardens. A swale is a shallow channel or depression with gently sloping sides, often planted with water-loving vegetation and built on contour across a slope. Its job is to intercept runoff, slowing it down and allowing it to soak into the ground. A rain garden is a more concentrated version—a shallow depression filled with perennial plants, positioned to collect runoff from a roof, driveway, or other hard surface. Both features act as temporary holding ponds, capturing hundreds of gallons of water and infiltrating it into the soil, replenishing groundwater and hydrating the surrounding landscape.
On steeper slopes, constructing small terraces or retaining walls can break up the incline, creating level planting areas that prevent soil and water from sheeting off. All these strategies—swales, rain gardens, terraces, and permeable paving—work together to form a resilient landscape. They ensure that when the rains do come, the water stays on your property, nourishing your soil sponge and preparing your garden to thrive through the inevitable dry spell that follows. This holistic approach, which embraces both scarcity and abundance, is the hallmark of a truly sustainable and beautiful garden.
By adopting this integrated, ecosystem-based approach, you can move beyond merely surviving the drought to creating a garden that flourishes in harmony with your local climate. The next logical step is to begin assessing your own property, identifying opportunities to build your soil, harvest water, and implement these resilient design strategies today.