Most guides to cave safety focus on a simple checklist: bring a helmet, a light, and tell someone your plan. But true safety and responsible exploration lie in a deeper understanding of the cave itself. This guide moves beyond the basics to reveal the hidden principles of the underground world, from the physics of air and light to the fragile geology that demands our respect. Mastering these concepts is what truly separates a tourist from a conscious caver.
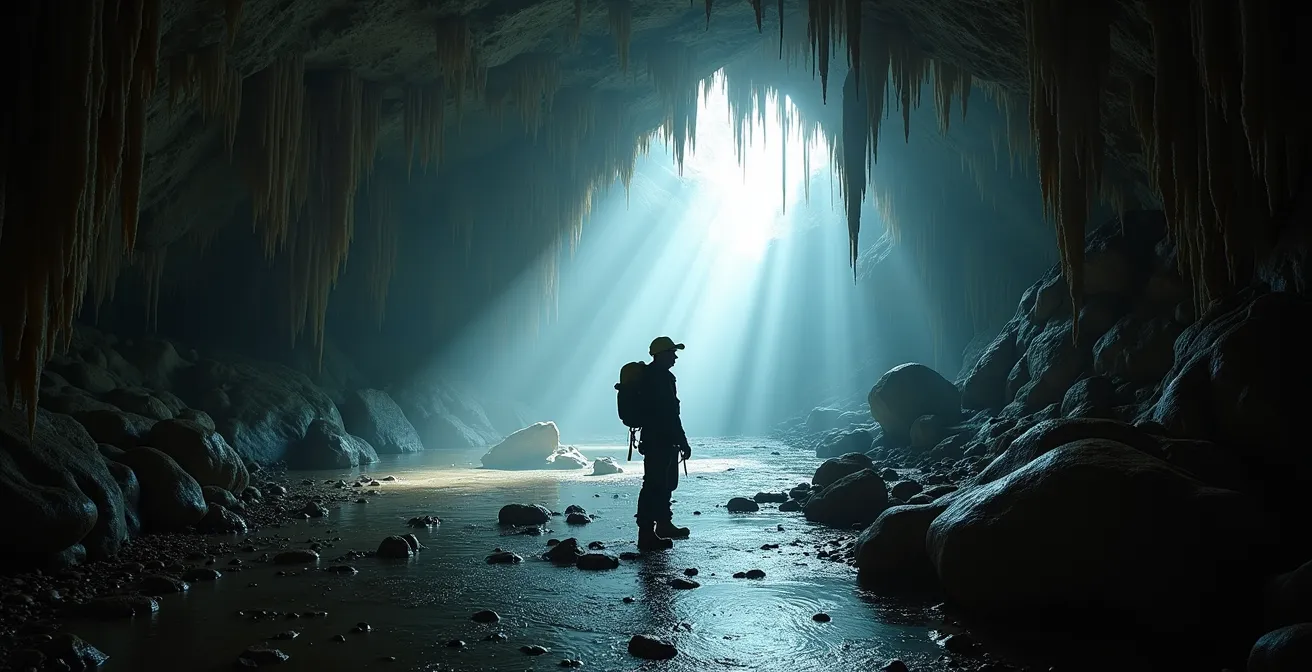
The call of the underground is a powerful one. The allure of limestone caves, with their hidden chambers and otherworldly formations, draws adventurers seeking a world untouched by the sun. Many approach this challenge armed with what they believe is common sense: a sturdy pair of boots, a flashlight from the hardware store, and a “leave no trace” mindset. They may distinguish themselves as “cavers,” a term for serious practitioners, rather than “spelunkers,” which often refers to casual hobbyists. Yet, even with the best intentions, they often overlook the invisible forces that govern this subterranean realm.
The standard advice—go in a group, watch your step, bring extra batteries—is not wrong, but it is dangerously incomplete. It treats a cave like a difficult hiking trail, failing to account for its unique nature as a three-dimensional labyrinth with its own atmosphere, geology, and fragile ecology. The real hazards and the most profound responsibilities are not always obvious. A simple touch can erase a thousand years of geologic history, a single equipment failure can have absolute consequences, and the very air you breathe can become a silent threat.
But what if the key to safe exploration wasn’t just about having the right gear, but about having the right knowledge? What if, instead of just following a checklist, you learned to read the cave, understand its systems, and move within it as a respectful guest? This guide is built on that principle. We will deconstruct the core pillars of responsible caving, moving from the microscopic impact of a single touch to the macro-systems of lighting, thermal protection, and navigation. This is your primer on how to explore without getting lost, injured, or becoming an unwitting agent of destruction.
This comprehensive guide details the fundamental principles of safe and ethical cave exploration. Below is a summary of the critical topics we will cover to transform your approach from a simple visit to a responsible expedition.
Summary: A Speleologist’s Guide to Safety and Preservation
- Why Touching a Stalactite Stops Its Growth for Centuries?
- How to Set Up Redundant Lighting Systems for Underground Safety?
- Wet or Dry: Thermal Protection for Cold Cave Environments
- The Invisible Danger: Detecting Bad Air Pockets in Deep Caves
- The Crawl Technique: Moving Through Narrow Passages Without Panic
- Assessing Cave Entrance Stability: Why the Ground Beneath Your Feet Can Lie
- Why Touching Ancient Walls Destroys Them With Oil and Acid?
- The Caver’s Ethos: Explore Without Erasing History
Why Touching a Stalactite Stops Its Growth for Centuries?
The first rule taught to any aspiring caver is “take nothing but pictures, leave nothing but footprints.” But even this is incomplete. The most crucial rule is: do not touch the formations. A cave is not a static rock museum; it is a dynamic, living system of incredible fragility. Stalactites, stalagmites, and other speleothems are formed by the painstaking process of mineral-rich water depositing calcite, molecule by molecule, over millennia. This process is so slow that it can take up to 1,000 years to form a single cubic inch of new calcite.
When you touch a formation, the natural oils and acids from your skin are transferred to the rock’s surface. This seemingly insignificant film creates a barrier that alters the surface tension and chemistry. The water that once flowed evenly over the calcite, depositing its mineral load, now runs off without leaving its deposit. You have effectively sterilized the surface. That single point of contact will remain barren, potentially for centuries, a permanent dead spot in the cave’s growth cycle. The damage is invisible but absolute.
This principle of non-contact extends beyond just the delicate, glistening formations. Backpacks scraping against flowstone, boots kicking up mud onto pristine walls, and even the moisture from your breath in small, enclosed areas can disrupt this fragile ecology. The goal is to move through the passage as a ghost, centered and controlled, leaving no physical or chemical trace of your presence.
Mastering this mindset is the first step toward becoming a responsible caver. It reframes exploration from an act of conquering to one of reverence. Every surface is part of a slow, geological story you are privileged to witness, not to edit.
How to Set Up Redundant Lighting Systems for Underground Safety?
In the absolute dark of a cave, light is not a convenience; it is life. Equipment failure is the leading cause of cavers becoming lost or requiring rescue, and light failure is the most common and consequential of all. A single flashlight, no matter how powerful, represents a single point of failure. A true caver does not just bring a “backup light”; they implement a tiered system of redundancy, ensuring that light is always available, even if the primary and secondary sources fail.
The National Speleological Society recommends a three-tiered approach to lighting. This is not just having three flashlights, but a structured, accessible system designed for a crisis.
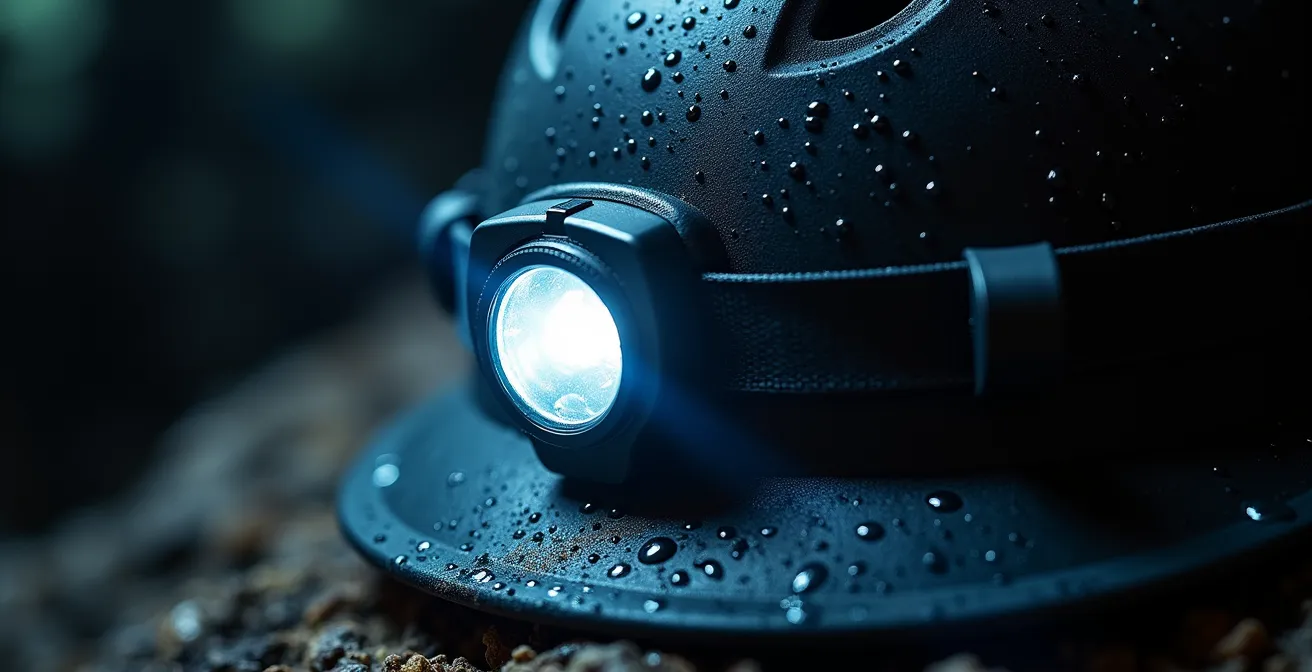
As shown on a properly equipped helmet, this system works as follows:
- Primary Source: A powerful, reliable LED headlamp mounted securely on your helmet. This is your main work light, leaving your hands free for navigation and balance.
- Secondary Source: A second, independent light, often another headlamp or a durable, waterproof flashlight, also mounted on the helmet or easily accessible. Some cavers even duct-tape a small, powerful flashlight to the side of their helmet as an immediate, no-fuss backup.
- Tertiary Source: A third light source, along with extra batteries for all your lights, stored in a waterproof bag within your pack. This is your emergency reserve, protected from the elements until you absolutely need it.
The logic is simple: exhaustion and a lack of light are a fatal combination. A caver who might otherwise easily find their way out can become hopelessly lost when plunged into darkness. By building system redundancy into your gear, you eliminate the single most preventable cause of underground emergencies.
Wet or Dry: Thermal Protection for Cold Cave Environments
The underground world is consistently cool. Even in the hottest climates, caves maintain a stable, low temperature year-round. For example, data from Indiana cave systems shows an average temperature of 52-55°F (11-13°C). While this may feel refreshing at first, prolonged exposure, especially when wet, can rapidly lead to hypothermia—a dangerous drop in body temperature that impairs judgment and physical ability. Choosing the right thermal protection is therefore not a matter of comfort, but of survival.
While the title mentions wet and dry suits, which are essential for full cave diving, the principles of thermal insulation are critical for any caver encountering water, from a simple stream crossing to a “wet” cave that requires wading or swimming. Water robs the body of heat 25 times faster than air of the same temperature. The key is to wear materials that insulate even when wet. Cotton is the absolute enemy in a cave; it loses all insulating properties when wet and actively pulls heat from your body.
Instead, cavers rely on a layering system of synthetic or wool clothing. The following table breaks down common thermal protection options for non-diving cavers, helping you choose the right gear for the conditions you expect to face.
| Protection Type | Best For | Key Features | Limitations |
|---|---|---|---|
| Synthetic Layers | Wet passages, stream crossings | Retains warmth when wet, quick-drying | Bulky when multiple layers needed |
| Wool Clothing | General caving in cool conditions | Insulates even when damp, natural odor resistance | Heavy when soaked, slower to dry |
| Vapor Barrier Liner | Extended exposure to cold | Prevents moisture loss, lightweight | Can cause overheating during exertion |
| Emergency Blanket | Emergency situations only | Cheap, ultra-lightweight, reflects body heat | Tears easily, not for regular use |
Ultimately, your choice depends on the specific cave. A “dry” cave may only require a single synthetic base layer under your coveralls, while a trip through a cold stream passage might necessitate multiple layers of fleece or wool. Always research the cave’s conditions and err on the side of caution. Carrying an emergency blanket is a lightweight, life-saving precaution for any trip.
The Invisible Danger: Detecting Bad Air Pockets in Deep Caves
Of all the hazards in a cave, “bad air” is perhaps the most insidious. Unlike a ledge or a tight passage, it is completely invisible. Pockets of air with low oxygen (hypoxia) or high carbon dioxide (hypercapnia) can form in deep, poorly ventilated sections of a cave. CO2 is heavier than air, so it often settles in low-lying areas. Decomposing organic matter can also consume oxygen. Entering one of these pockets can lead to confusion, loss of consciousness, and death, often without the victim ever realizing the danger.
Since you cannot see it, you must learn to recognize its effects on your body and your environment. The symptoms of bad air appear in a specific order, and recognizing the first signs is critical. They include shortness of breath disproportionate to your exertion, followed by a headache, dizziness, and confusion. If you or anyone in your group suddenly feels an urgent need to pant while resting, you should treat it as an immediate red flag for bad air.
Experienced cavers use a simple, time-tested tool to check for bad air: an open flame, such as a butane lighter or a candle. In a low-oxygen or high-CO2 environment, the flame will struggle to burn, becoming lazy and yellow before extinguishing. However, this test should only be performed if you are certain there is no risk of flammable gases like methane, which can be present in some caves. The safest protocol is always to trust your body first. If you feel the symptoms, the air is bad, regardless of what a flame test shows.
The moment bad air is suspected, you must follow a strict protocol: Recognize, Retreat, Report. Never push forward hoping it will get better. Your only safe move is to immediately retreat to a location where you know the air was good. Mark the dangerous area (mentally or physically if safe) and report its precise location to the caving community and relevant authorities to prevent others from stumbling into the same trap.
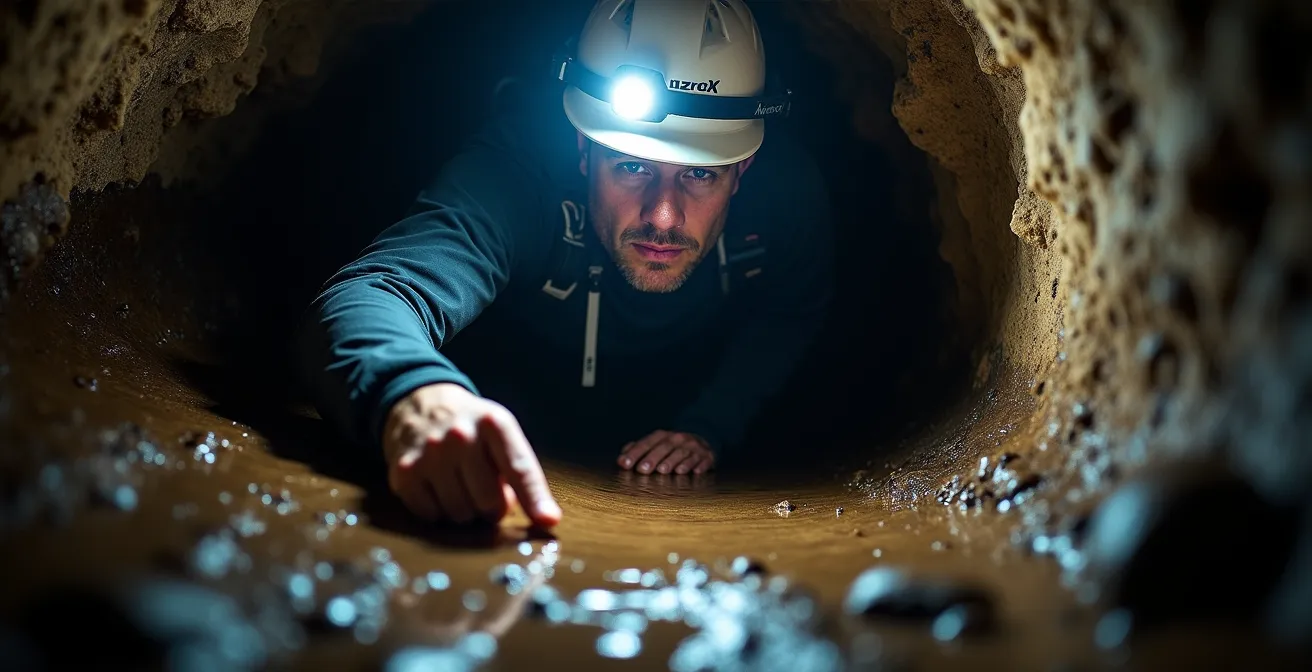
The Crawl Technique: Moving Through Narrow Passages Without Panic
Claustrophobia is a primal fear, and a tight cave passage is its natural home. However, navigating squeezes and crawls is less about bravery and more about technique. Panic is the real enemy, as it leads to wasted energy, erratic movements, and poor decision-making. The key to moving through narrow passages calmly is to maintain stability and control through a method known as three-point contact.
This technique, fundamental to both caving and rock climbing, involves ensuring that three parts of your body are supported on immovable objects at all times. This creates a stable “tripod” that prevents slipping and allows you to move with deliberate, energy-efficient motion. Depending on the shape of the passage, your three points of contact could be your right hand, left foot, and back, or your left elbow, right knee, and hip. By always being stable, you eliminate the feeling of falling or getting stuck, which is a primary trigger for panic.
Another critical element of navigating tight spaces is breath control. It’s a simple physiological trick, but an effective one. As the Marengo Cave Safety Guidelines advise:
Remember that exhaling before pushing can be helpful.
– Marengo Cave US National Landmark
Your chest is smaller when you exhale, giving you that extra inch or two needed to pass through a squeeze. Coordinating your movement with your breath—inhaling while setting your points of contact, exhaling as you push forward—creates a calm, sustainable rhythm. It turns a frantic struggle into a controlled, meditative process. This is the essence of the crawl technique: using biomechanical stability and breath control to overcome the psychological challenge of a tight space.
Assessing Cave Entrance Stability: Why the Ground Beneath Your Feet Can Lie
The most dangerous part of a cave can sometimes be the first ten feet. Cave entrances are zones of constant change, where the stable underground environment meets the dynamic forces of surface weather. Erosion, freeze-thaw cycles, and water runoff can all work to destabilize the rock and soil around an opening, creating a significant risk of rockfall. Assuming an entrance is safe just because it looks solid is a common and potentially fatal mistake.
Vegetation can be particularly deceptive. A slope covered in thick grass might seem stable, but shallow-rooted plants like grass are not enough to hold soil on steep slopes and can hide underlying instability. An experienced caver learns to read the subtle signs that an entrance may be unstable. This involves a quick but thorough assessment before ever stepping inside. You should be looking for tension cracks in the soil above the entrance, leaning trees, or fresh rockfall debris at the dripline (the area on the ground directly beneath the overhanging rock).
Water is the primary agent of change. Pay close attention to whether water is actively undercutting the entrance, especially after a heavy rain. You must also consider the weather forecast. A cave that is perfectly safe in dry weather might be prone to flash flooding, turning the entrance into a dangerous torrent. A key part of your pre-entry check is to assess not just the current stability, but the potential for it to change based on the weather. Documenting the entrance with a photo on each visit can help you track slow changes over time that might indicate a growing instability.
This habit of performing an entrance assessment is a critical safety ritual. It trains your eye to see the geological forces at play, moving beyond the surface appearance to understand the true structural integrity of the cave you are about to enter.
Why Touching Ancient Walls Destroys Them With Oil and Acid?
Some caves are not just geological wonders; they are irreplaceable archaeological records. They may contain ancient petroglyphs (rock carvings), pictographs (rock paintings), or even delicate mineral coatings that hold clues to past climates. As with geological formations, the rule of “no contact” is absolute, but here the reasoning extends beyond preservation of beauty to the preservation of scientific data.
The walls of a cave, especially near entrances, can be time capsules. They may hold microscopic organic material or layers of calcite that can be analyzed to understand the past. The simple act of touching these surfaces can irreversibly contaminate this record. As the Archaeological Cave Preservation Guidelines from the National Speleological Society explain, the consequences are permanent:
The acidic oils on hands can permanently alter the chemistry of rock surfaces, making future dating techniques like C-14 or luminescence impossible.
– National Speleological Society
In essence, touching an ancient wall is like wiping a hard drive. You may not see the damage, but you have destroyed data that can never be recovered. The unique chemical and organic signature of the wall is now contaminated with your own, rendering it useless for future study. This is why you must maintain a respectful distance from any wall that could potentially hold rock art or other archaeological significance.
This responsibility extends to your equipment. A swinging backpack can scrape a pictograph out of existence in an instant. The mud on your boots can obscure petroglyphs on the floor. Responsible caving in archaeologically sensitive areas requires heightened spatial awareness and a commitment to moving slowly and deliberately. The goal is to pass through without altering the scene in any way, ensuring that the stories written on these walls can be read by future generations of scientists and visitors.
Key Takeaways
- Preservation is an Active Ethos: Safe caving is inseparable from conservation. Every action, from where you place your hand to how you breathe, has a long-term impact on the fragile cave environment.
- System Redundancy Over Simple Backups: The key to surviving equipment failure, especially with lighting, is not just having spare gear but having a tiered, immediately accessible system.
- Knowledge Mitigates Fear: Understanding the principles of three-point contact, breath control, and bad air detection transforms fear of the unknown into manageable risk assessed through expertise.
The Caver’s Ethos: Explore Without Erasing History
With an estimated 2,000,000 people visiting caves annually in the U.S. alone, the cumulative impact of human presence is significant. The principles we have discussed—from the chemistry of a fingerprint on a stalactite to the stability of an entrance—all converge on a single, guiding philosophy: the caver’s ethos. This is a commitment to enter and leave the underground world as a neutral observer, a ghost who leaves no trace and takes no souvenir.
This ethos is most critical when you encounter the unexpected. If you are lucky enough to discover an artifact—a piece of pottery, a flint tool, or ancient footprints—you have a profound responsibility. Your first instinct might be to pick it up for a closer look, but this can destroy its context and contaminate it for future analysis. The correct protocol is to “Discover, Don’t Disturb.”
This means you must stop, photograph the item and its surroundings from multiple angles, and note its exact location before carefully exiting the area. Reporting the find to the proper authorities, like the State Historic Preservation Officer, is the final and most important step. It transforms you from a simple visitor into a custodian of history.
Action Plan: The “Discover, Don’t Disturb” Archaeological Protocol
- Stop and Secure: Immediately stop all activity. Do not touch, move, or breathe directly on any potential artifacts found. Secure the area to prevent accidental disturbance by your group.
- Document in Place: Photograph the item and its surroundings from multiple angles without using a flash. Make a detailed sketch of the object and its position relative to permanent cave features.
- Pinpoint the Location: Note the location as precisely as possible. If you have a GPS, mark the coordinates at the cave entrance and write a detailed description of the path taken to reach the find inside the cave.
- Exit with Care: Leave the area exactly as you found it, being mindful not to disturb the site on your way out. Retrace your steps carefully.
- Report to Authorities: Contact the State Historic Preservation Officer (SHPO) or a state archaeologist. Also, consider reaching out to the National Speleological Society’s archaeological resources team. Never publicly share the cave’s location, especially on social media, as it could lead to looting.
Ultimately, to be a caver is to accept that you are a temporary guest in a permanent world. It is a world of immense beauty and profound fragility, where a thousand years of natural artistry can be undone in a second. By embracing an ethos of knowledge, preparation, and deep respect, you ensure that these subterranean cathedrals will remain for others to experience with the same sense of wonder.
Begin your journey into responsible caving today by applying these principles of safety and preservation to your very next adventure. Your preparation starts long before you reach the cave entrance.